
When writing the main body of an article, dissertation, thesis, etc. it is important to keep it concise, and not distract the reader with technical and maybe repetitive details. However, it is usually important to leave the reader the ability to access these details.
This is where appendices come in. An appendix is a section at the end of your main document that contains supplementary information such as figures, tables, raw data, code, etc. The appendix can also be structured in chapters (which are often considered to be multiple appendices), which are usually numbered with capital letters, instead of Arabic numbers.
Although it is pretty clear what kind of content is expected inside an appendix, it is a controversial matter where this appendix should be placed. Seems like in most cases appendices appear after the references of the document, but some style guides recommend the opposite. In case you are writing for some institution, you should check their standards and style guide.
Adding an appendix to your document in LaTeX is as easy as invoking the macro \appendix . From the moment you call this command, the new chapters will be numbered using capital letters, and instead of `Chapter’ they will be called `Appendix’.
Here is a minimal working example of how to use it:
% Create an appendix in LaTeX \documentclass \begin \tableofcontents \chapter \appendix \chapter This is my first Appendix . \chapter \endAs you can see, we created a book document, inside of which was inserted a single usual chapter. However, after the \appendix command, two more chapters were created, that stand as appendices. You can see in the following illustration how the title of an appendix looks.
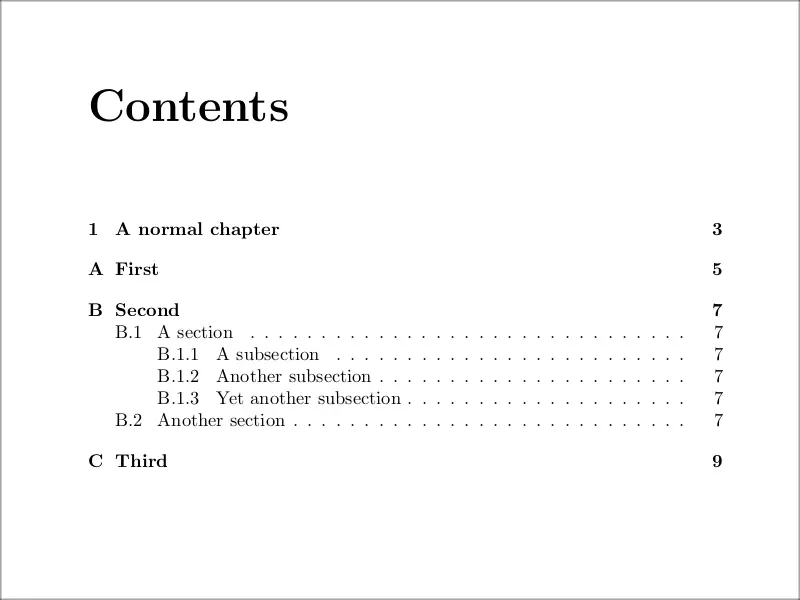
In this example, we also inserted the table of contents with \tableofcontents command; you can see in the following figure how the entries corresponding to appendices are written by default.

This default procedure that LaTeX offers to create our appendices is very useful since once we call the macro \appendix we can keep writing the document as usual, and include \chapter , \section , \subsection commands, and also figure and table environments, all of which will be numbered according to the convention for appendices (that is, the appendix part referenced as a capital letter).
For example, in the following illustration, you can see how a more complex appendix organization would look in the table of contents:
Although in the previous and following examples we will mostly use the book document class (since it is the usual situation in which an appendix is needed) you can also insert appendices inside article and other document classes in
essentially the same way. However, you should be aware that chapters do not exist inside the article document class, so only sections appear in the appendix (as in the rest of the document).
The output differences between the article and book classes are the same as for the rest of the document, mainly that there is only one kind of page and that sections don’t start at a new page (as chapters do). If you want the appendix to start on a new page inside an article, simply use the command \clearpage just before \appendix.
It is important that you reference each one of your appendices, at least once, inside your main document. In other cases, you should ask yourself whether the appendix is truly needed or not.
Referencing an appendix in LaTeX is as easy as any other chapter or object. You just have to put an anchor to it using \label and then you can reference the appendix using \ref .
Here is a minimal working example of how you could implement this:
% Reference an appendix in LaTeX \documentclass \begin You can find the raw data used to calculate this metrics in Appendix \ref. \appendix \chapter\label Here goes the raw data of the experiment. \endIn this case, the command \ref simply produces the letter `A’, corresponding to the numbering of the appendix referenced.
Even more precise and easy to follow for the reader is referencing both, the exact content we want to make the reader aware of, and the appendix where he can find it. This would mean, in the previous case, referencing the concrete table inside the appendix where the raw data is, and also referencing the appendix where the table is printed. For this purpose we also have to label the table; here is a possible way of doing this:
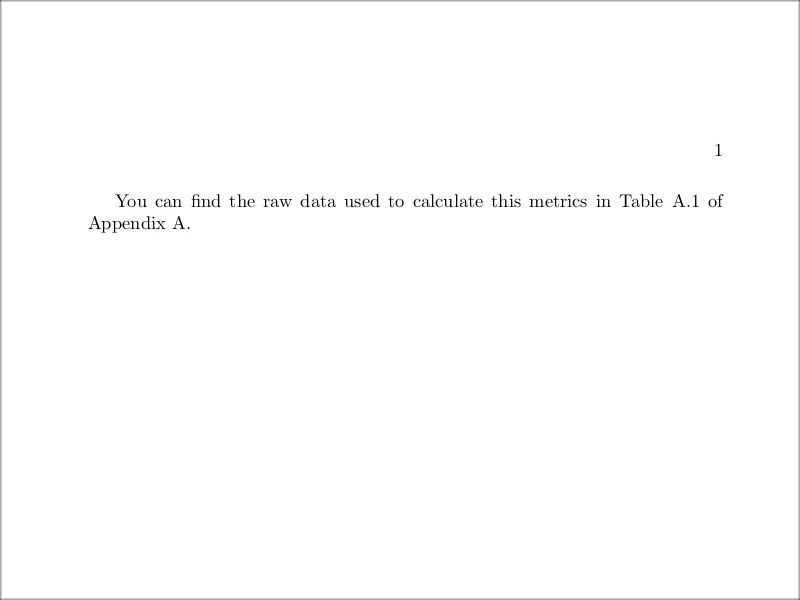
% Reference an element in an appendix in LaTeX \documentclass \begin You can find the raw data used to calculate this metrics in Table \ref of Appendix \ref. \appendix \chapter\label Here goes the raw data of the experiment. \begin[htpb] \centering \caption \label \begin 1 & 2 & 3 \\ \end \end \endYou can see the first page produced by this code in the following figure. Observe how the numbering of the table is coherent with the appendix alphabetical numbering, as was mentioned earlier:
Although the default numbering system for appendices and their sections is a standard one, you can also customize it. To do so, we will have to redefine the commands:
just after we call \appendix . These commands are responsible for the identifier of every chapter, section, and subsection, respectively. They can be set to any number, letter, or symbol, but the idea is to identify them with a representation of the number of the chapter, section, and subsection they are in, since setting any of them to a fixed value would be pointless.
For this purpose, we have the following macros which can be passed any LaTeX counter and they will represent it in a certain way:
| Command | Description |
|---|---|
| \alph | prints the counter as a lowercase letter |
| \Alph | prints the counter as a capital letter |
| \arabic | prints the counter in arabic numbers |
| \roman | prints the number in lowercase roman numbers |
| \Roman | prints it in uppercase roman numbers |
| \fnsymbol | prints the value of the counter using a sequence of nine symbols* |
* The nine symbols are traditionally used for labeling footnotes (especially inside mathematical texts, where numbers and letters can easily be confused with notation). In this latter case, the value of the counter should be between 1 and 9 inclusive, otherwise, we will get an error. In case you are wondering, the mentioned symbols are:
Knowing all of this, and using \renewcommand to change the values of \thechapter , \thesection and \thesubsection , we can make our appendix look as we want.
For instance, in the following example we create a very strange appendix numbering system, not recommended in any book of style:
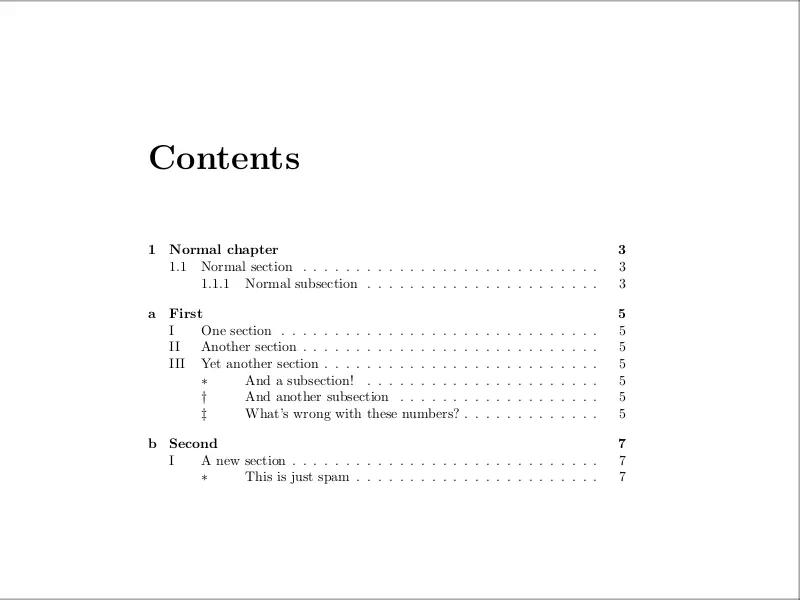
% Change appendix numbering \documentclass \begin \tableofcontents \chapter \section \subsection \appendix \renewcommand> \renewcommand<\RomanAnd you can find how the table of contents produced by this insane numbering system looks in the following illustration:
The procedure used here to change the numbering system is general: you can use it at any point in the document, and the chapters and so will be numbered as you determine from that point on. In case you want it to affect your document, the same instructions could be given in the preamble.
Using the technique of the previous section, we can also change the page numbering system inside the appendix and customize it.
The command \pagenumbering comes at hand in this case, since it resets the page numbering and also changes it to style. This style can be any of the general ways that LaTeX has to print a counter, that is: arabic, roman,
Roman, alph, and Alph; we already know what they mean. There is also the option gobble, which prevents LaTeX from printing a page number, although the counter gets reset anyway.
So the easiest way to implement a different numbering system in the appendix is using this command, as it is done in the following example:
% Change appendix page numbering \documentclass \begin \tableofcontents \chapter \clearpage \pagenumbering \appendix \chapter \chapter \endThe table of contents produced in this case is shown below. Observe that we used \clearpage to prevent the \pagenumbering from affecting the last page that was written so that it will only affect the following pages.


Since in the appendix we write complementary content, it is common to have figures and tables inside it. These may be very big, and thus one may want to use a landscape page layout to include them in one single page. We can easily achieve this using the lscape package.
This package provides the landscape environment, which is used to landscape the contents on individual pages. However, this package doesn’t rotate the pages in the pdf document, so they still are shown vertically. This is not a problem if we want to print the document, but it is annoying if we want to read it digitally. In this case, it is more convenient to use the pdflscape package, which works with the same environment as lscape but actually rotates the page in the pdf.
Here is a small example of how you can use this package:
% Landscape page in appendix \documentclass \usepackage \usepackage % for dummy text \begin \begin \appendix \chapter \lipsum % just dummy text \end \endAnd the resulting appendix page is shown below. Again, this may not look very useful when working with text, but can drastically increase the readability of the document when working with diagrams, figures, and tables.

We can also insert a single column appendix inside a two-column document using the command \onecolumn just before the appendix. For example,
% Wide appendix two columns \documentclass[twocolumn] \usepackage % for dummy text \begin \section \lipsum[1] \onecolumn \appendix \section \lipsum[2] \endProduces the First section with two-column content, while the First appendix has single-column content. This also forces the appendix to appear on a new page.
In this tutorial we have shown what is an appendix, what should you add to it, but mainly how you can customize it in LaTeX. With all of this, you should be able to create all kinds of appendices, from a simple one for a small dissertation, to an appendix for a thesis or book.